
Timing Your Proofing for Sourdough Success: Expert Baking Tips
Perfecting sourdough bread is an art, and timing your proofing is the key to achieving that airy crumb, tangy flavor, and crusty exterior. At Delights Bakery, we’re passionate about sharing baking tips to help you master bread baking. Proofing—the process of letting dough rise—requires careful attention to time, temperature, and dough cues. In this guide, we’ll explore how to time your sourdough proofing for success, covering bulk fermentation, final proof, and troubleshooting tips. Let’s dive into these sourdough techniques to elevate your artisan bread game!
Why Timing Proofing Is Important?
Proper proofing timing transforms your sourdough:
- Develops Flavor: Allows fermentation to enhance the tangy, complex taste.
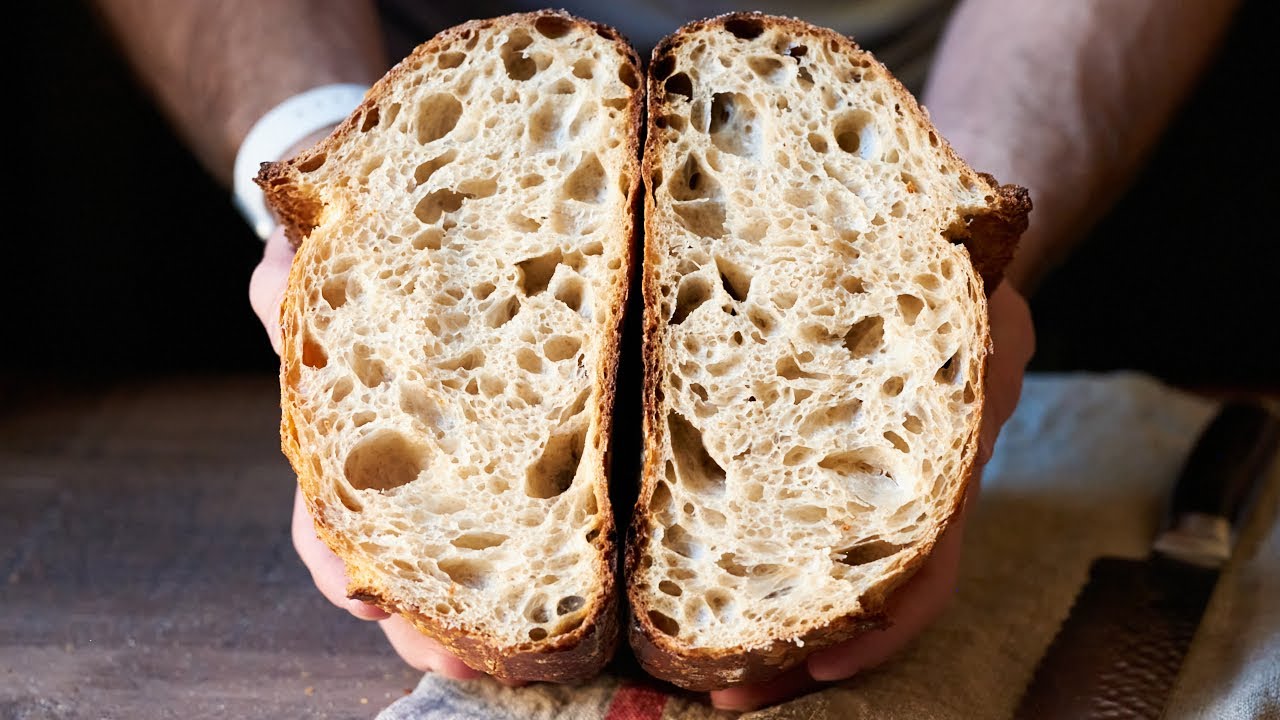
- Improves Texture: Creates an open, airy crumb with well-defined air pockets.
- Ensures Proper Rise: Optimizes oven spring for a tall, light loaf.
- Prevents Overproofing: Avoids collapsed or dense bread with a gummy texture.
- Balances Structure: Strengthens gluten for a chewy, well-formed loaf.
Understanding Sourdough Proofing Stages
Sourdough proofing involves two main stages:
- Bulk Fermentation: The first rise after mixing, where the dough develops flavor and structure (typically 4-12 hours, depending on temperature).
- Final Proof: The second rise after shaping, preparing the dough for baking (usually 1-4 hours or overnight in the fridge).
Factors Affecting Proofing Time
Several variables influence how long your dough needs to proof:
- Temperature: Warmer environments (75-85°F/24-29°C) speed up fermentation; cooler ones slow it down.
- Starter Strength: A lively, active starter proofs faster than a sluggish one.
- Hydration Level: Higher hydration doughs (65-80%) ferment faster than stiffer doughs.
- Flour Type: Whole grain flours ferment faster than white flours due to higher nutrient content.
- Salt Content: More salt can slow fermentation slightly.
How to Time Bulk Fermentation
Bulk fermentation typically takes 4-12 hours at 75-80°F (24-27°C). Here’s how to nail it:
- Mix Dough: Combine flour, water, starter, and salt until no dry flour remains.
- Perform Stretch and Folds: Every 30 minutes for the first 2 hours, gently stretch and fold the dough to build gluten strength.
- Monitor Dough: Look for a 30-50% volume increase, a smooth surface, and small bubbles on the sides.
- Test Readiness: Gently poke the dough; it should feel airy and slightly spring back. If it holds the indent, it’s ready to shape.
- Adjust for Temperature: In warmer conditions (above 80°F), check after 4-6 hours; in cooler conditions, it may take 8-12 hours.
How to Time Final Proof
The final proof takes 1-4 hours at room temperature or 8-12 hours in the fridge. Follow these steps:
- Shape Dough: Shape into a boule or batard and place in a floured proofing basket or bowl.
- Room Temperature Proof: Let rise at 75-80°F (24-27°C) for 1-4 hours until puffy but not doubled. Use the poke test: a slow spring-back indicates readiness.
- Cold Proof (Optional): Refrigerate for 8-12 hours for enhanced flavor and easier scoring. Bake directly from the fridge.
- Check Readiness: Dough should feel light and slightly jiggly, with a smooth, taut surface.
Tips for Perfect Proofing Timing
Achieve bakery-quality sourdough with these baking techniques:
- Use a Thermometer: Maintain consistent dough temperature (75-80°F/24-27°C) for predictable timing.
- Track Time: Note start times and check dough every 30-60 minutes during bulk fermentation.
- Watch Dough Cues: Focus on dough appearance (bubbles, volume) rather than strict timing.
- Use a Proofing Box: A covered container with warm water can stabilize temperature for consistent results.
- Strengthen Starter: Feed your starter 4-8 hours before mixing for maximum activity.
- Adjust for Seasons: Shorten proofing in summer; extend in winter or use a warm spot.
Common Mistakes to Avoid
- Overproofing: Dough collapses or becomes gummy if left too long; watch for excessive puffiness or a sour smell.
- Underproofing: Dense, tight crumb results from insufficient rise; ensure dough is puffy and airy.
- Ignoring Temperature: Cold dough proofs too slowly, while overly warm dough can overproof quickly.
- Rushing the Process: Don’t skip stretch and folds or cut proofing short; patience is key.
- Poor Starter Health: A weak starter leads to sluggish fermentation; ensure it doubles within 4-6 hours after feeding.
Troubleshooting Proofing Issues
- Flat Bread: Likely overproofed; reduce proofing time or lower temperature.
- Dense Crumb: Underproofed or weak starter; extend proofing or refresh starter.
- Excessive Sourness: Over-fermentation; shorten bulk fermentation or use less starter.
- Uneven Rise: Inconsistent dough temperature; use a proofing box or stable environment.
Frequently Asked Questions
How Do I Know When Bulk Fermentation Is Done?
Look for a 30-50% volume increase, small bubbles, and a smooth, slightly domed surface.
Can I Proof in the Fridge?
Yes, cold proofing for 8-12 hours enhances flavor and makes scoring easier.
What If My Dough Isn’t Rising?
Check starter activity, increase temperature, or extend proofing time.
How Does Hydration Affect Proofing?
Higher hydration doughs ferment faster; adjust timing based on dough stickiness.
Explore Our Baking Tips & Techniques!Final Thoughts
Timing your sourdough proofing is the cornerstone of baking exceptional artisan bread. At Delights Bakery, we’re dedicated to sharing sourdough techniques that empower home bakers. Try these baking tips, share your sourdough creations in the comments below, and let us know your favorite bread recipes for a chance to feature them!
Comments
Post a Comment