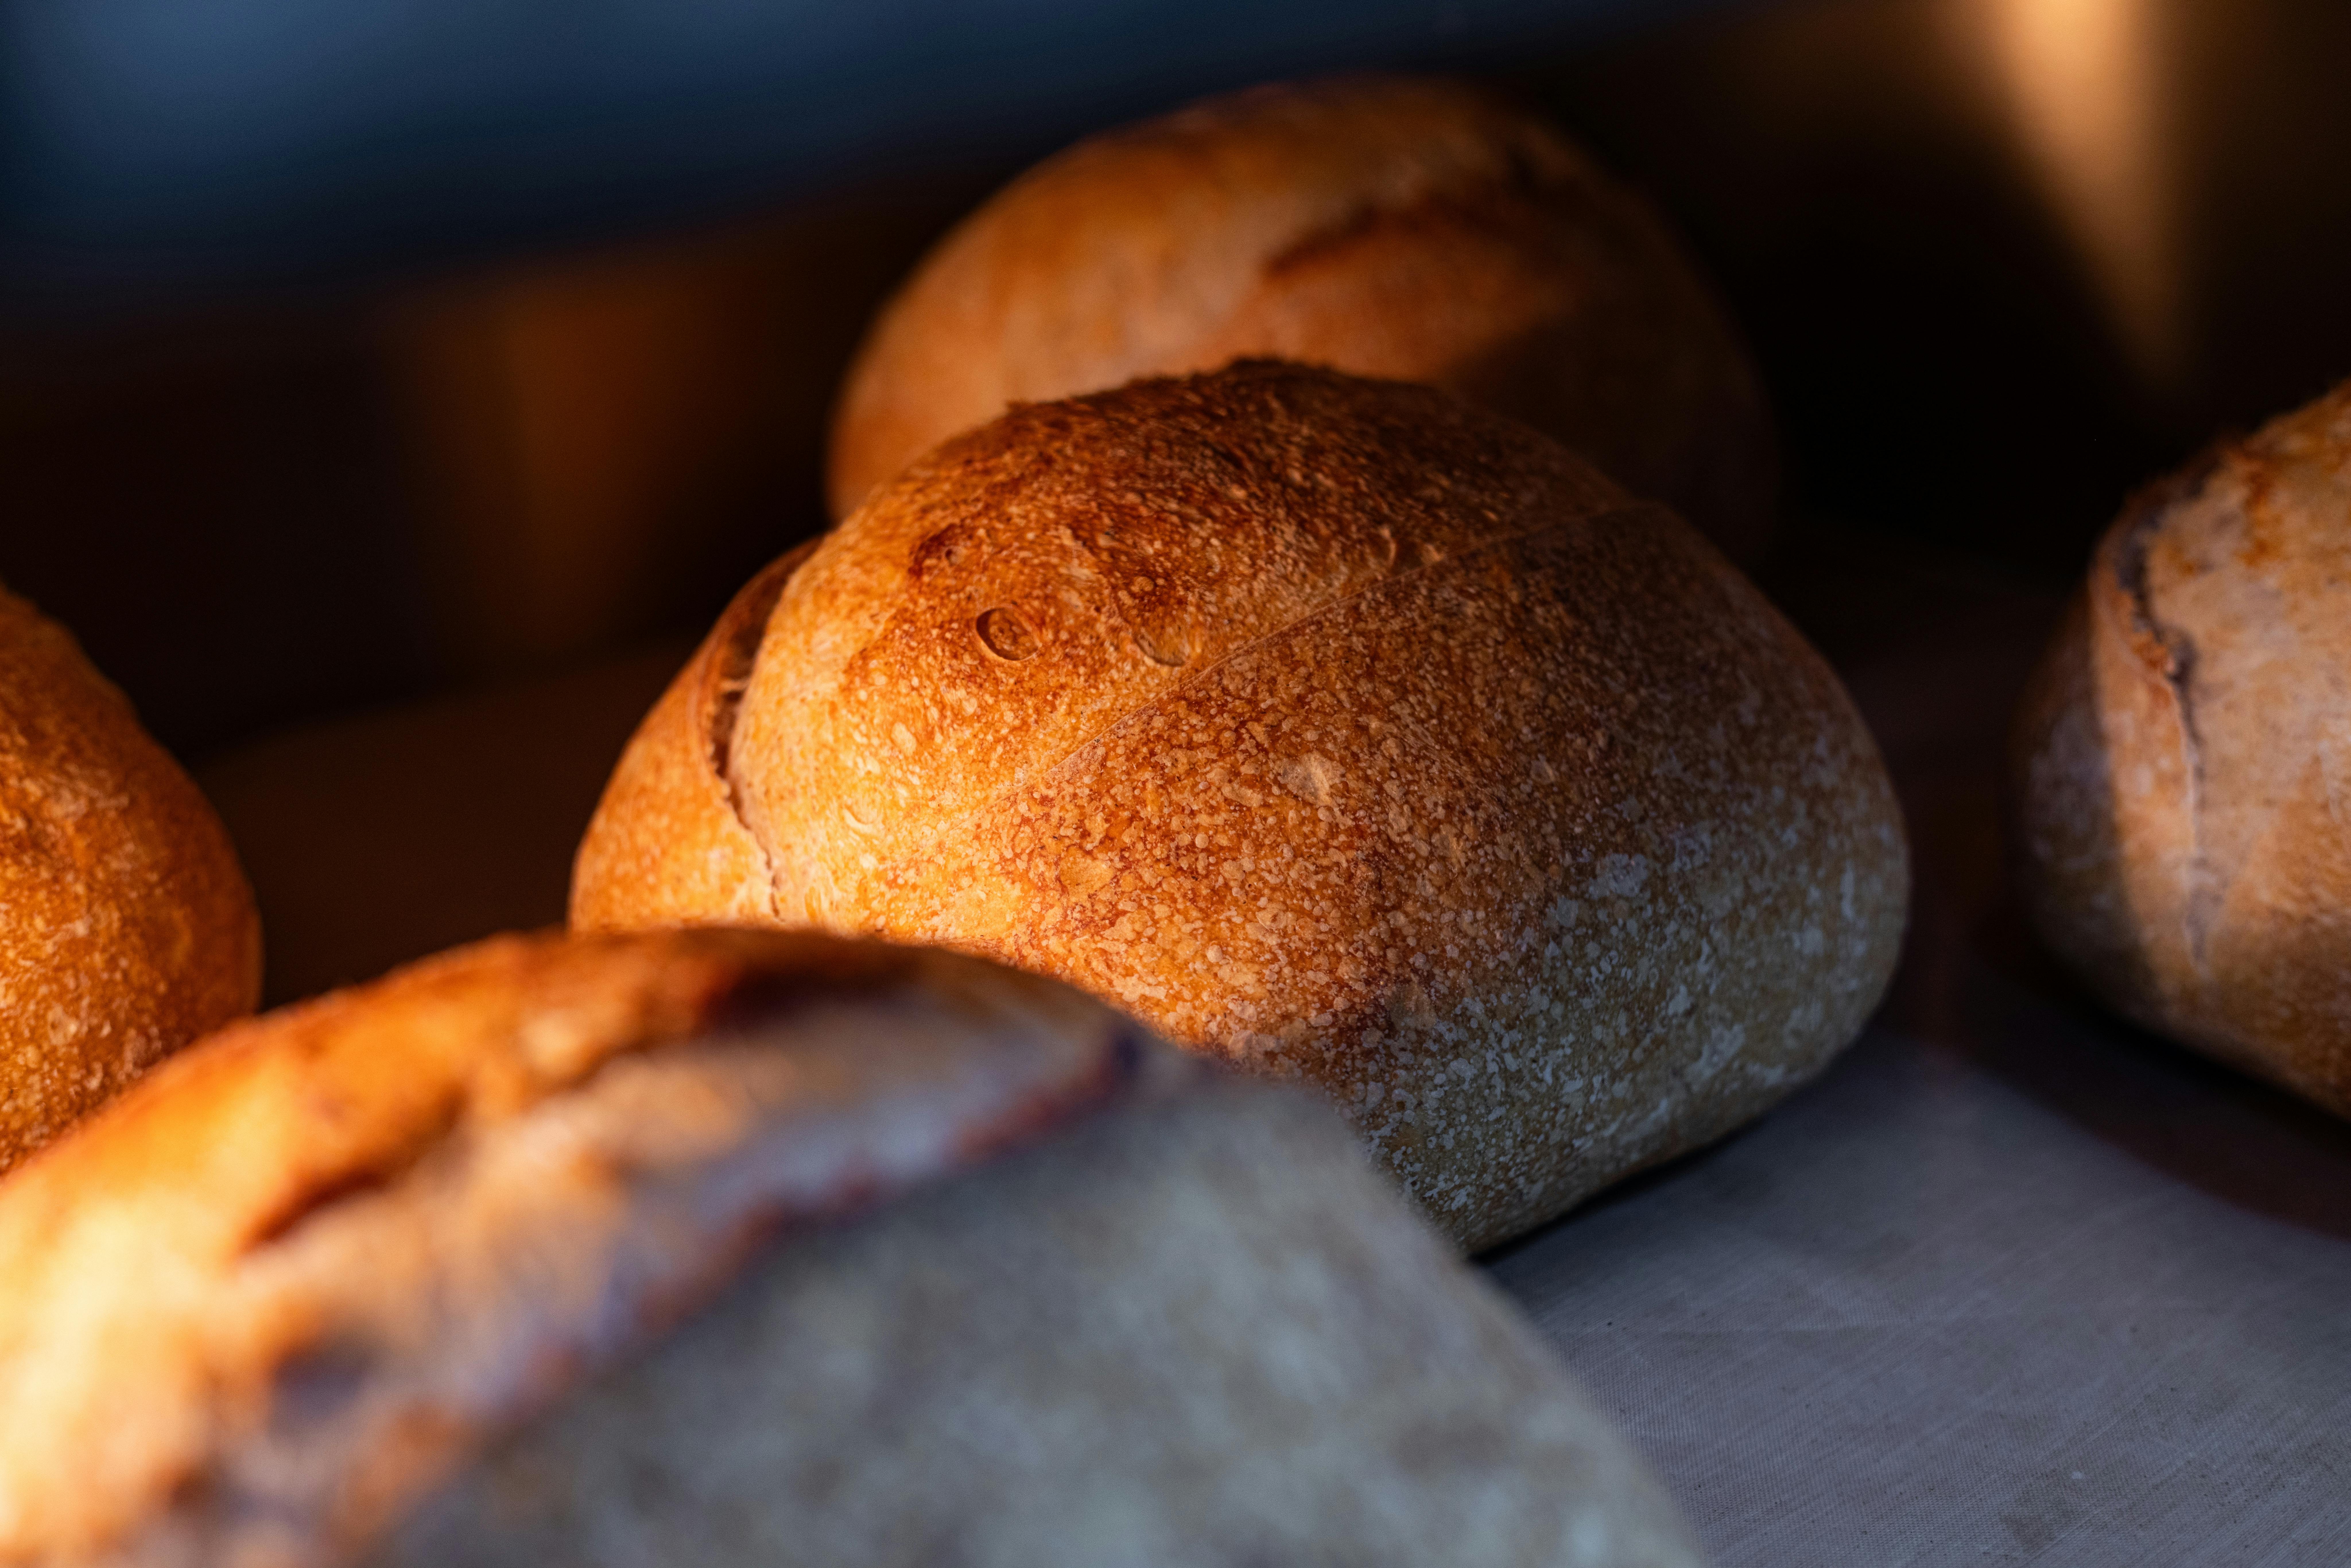
How to Achieve the Perfect Crust on Your Bread

The joy of pulling a loaf of bread with a golden, crackling crust from the oven is unmatched. At Delights Bakery, we’re sharing expert techniques to help you achieve that perfect, bakery-quality crust at home. From flour to steam, learn the secrets and try our crusty artisan bread recipe!
1. Use the Right Flour
The flour you choose impacts crust development. Bread flour (12-14% protein) builds strong gluten for a chewy, sturdy crust. Adding a small portion of whole wheat or rye flour (10-20%) enhances flavor and creates a crisp, textured crust.
2. Proper Hydration is Key
High-hydration doughs (65-75% water) produce crispier crusts as excess moisture turns to steam, creating a blistered exterior. Wet doughs like ciabatta or sourdough yield exceptional results, though they require practice to handle.
3. Preheat Your Oven—With Steam
Steam in the first 10 minutes of baking keeps the dough surface moist, allowing it to expand and form a crisp crust. To create steam:
- Place a baking tray or cast iron pan on the bottom oven rack during preheating.
- When loading the bread, pour 1 cup of hot water into the tray (watch for steam).
- Alternatively, mist the oven walls with water 2-3 times during the first 10 minutes.
4. Bake at a High Temperature
Start at a high temperature (450°F/230°C or higher) to promote rapid oven spring and crust formation. After 10-15 minutes, lower to 400°F (200°C) to finish baking without burning the crust.
5. Score the Dough Before Baking
Scoring controls dough expansion by creating weak points for steam to escape. Use a sharp razor or lame to make shallow, confident cuts (1/4-inch deep) before baking for an even, professional-looking crust.
6. Use a Baking Stone or Dutch Oven
A baking stone or steel mimics professional ovens by retaining and transferring heat evenly. A Dutch oven traps steam naturally, creating an ideal crust-forming environment. Preheat either for at least 45 minutes.
7. Let It Cool Completely
Avoid slicing warm bread, as escaping steam softens the crust. Let the loaf cool on a wire rack for at least 1 hour to preserve its crispiness.
Recipe: Crusty Artisan Bread
Ingredients:
- 400g bread flour
- 100g whole wheat flour
- 375g water (75% hydration)
- 10g salt
- 7g instant yeast
Instructions:
- Mix flours, water, salt, and yeast in a bowl until a shaggy dough forms.
- Cover and let rest for 30 minutes (autolyse).
- Knead for 5-7 minutes until smooth. Cover and let rise for 12-18 hours in the fridge (slow fermentation enhances flavor).
- Shape into a round loaf, place on parchment, and let rise for 1 hour.
- Preheat oven to 450°F (230°C) with a Dutch oven inside for 45 minutes.
- Score the dough, place in the Dutch oven, cover, and bake for 20 minutes.
- Remove lid and bake for 15-20 minutes until deep golden.
- Cool on a wire rack for 1 hour before slicing.
Nutrition: ~150 calories per slice (based on 10 slices), with a crisp crust and chewy interior.
Storage Tip: Store in a paper bag for up to 2 days or freeze slices for 1 month.
Frequently Asked Questions
Why Is Steam Important for Bread Crust?
Steam keeps the dough surface flexible, allowing expansion and forming a crisp, shiny crust.
Can I Get a Crispy Crust Without a Dutch Oven?
Yes, use a baking stone and add steam with a tray of hot water or misting.
Why Is My Crust Soft After Baking?
Soft crusts result from insufficient steam, low oven temperature, or cutting too soon.
Can I Use All-Purpose Flour for Crusty Bread?
Yes, but bread flour yields a better crust due to higher protein content.
Final Thoughts
Achieving the perfect bread crust is all about mastering hydration, steam, and heat. With practice, you can create bakery-worthy loaves at home. Try our crusty artisan bread recipe and experiment with these techniques. Share your crusty creations in the comments below!

Comments
Post a Comment